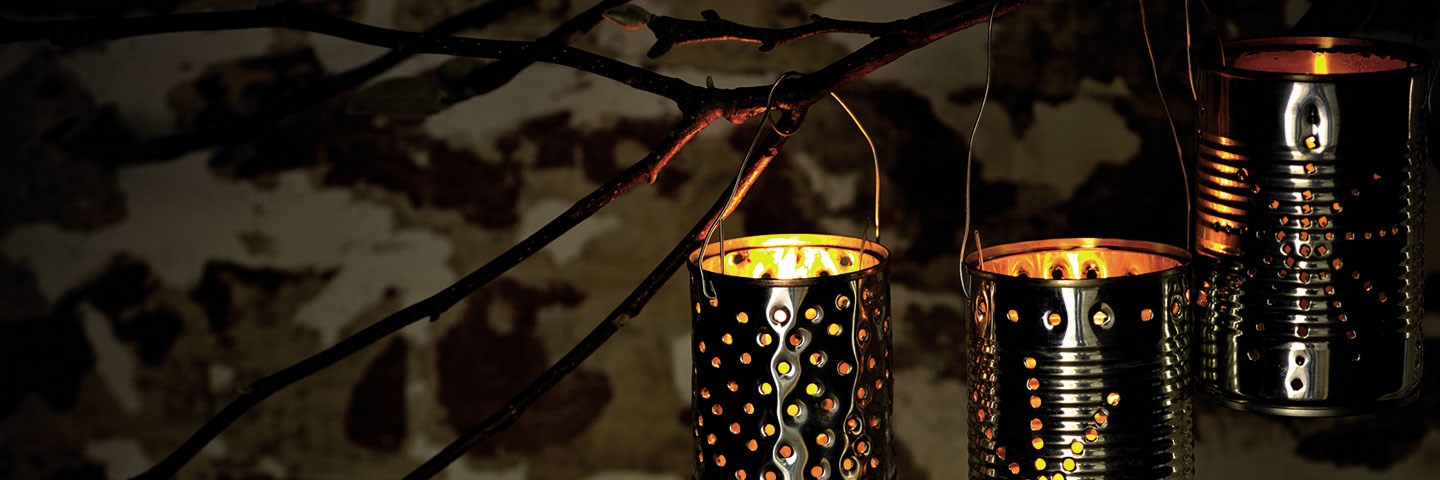
Create your own designs with these Tea Light Tins. Hang them outside, light them and then sit back and admire your handiwork.
Materials Required
- Old washed metal tins
Wire
Tools Required
- Hammer
- Large and small nails
- Pliers
WHAT TO DO:
- Soak and scrub labels off your tin cans. Check the inside lip of the cans for rough edges left by a can opener. If present, these can be flattened by pressing down with a flathead screwdriver.
- Draw your design on to the can using a marker pen.
- Fill the cans with water, leaving about 2.5cms room at the top. Place tins in freezer and freeze completely. Having the can filled with frozen water will help to keep them in shape when punching the holes in them.
- Now using your hammer and different sized nails, begin piercing your tin along the lines of your design.
- Place a few holes in the bottom of the tins to allow water to flow out if they are left outside.
- If you plan on hanging your Tea Light Tins you’ll also need to punch a couple of holes in the top of each tin and then place a piece of wire through these to form a handle.
- Let there be light!
All the projects featured require care when carrying out. We recommend that you observe manufacturer’s operating instructions and take all necessary safety precautions. Always exercise care and common sense when attempting tasks such as these.